Day eleven: gift ideas we love

Give a Young Lady or Gentleman Their Very Own Alphabet 🙂

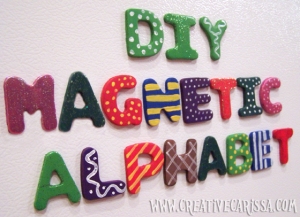
cover photo - DIY Magnetic Alphabet

Kids need to learn the alphabet at some point in their busy lives, why not make it fun with these cool alphabet magnets!

abcs

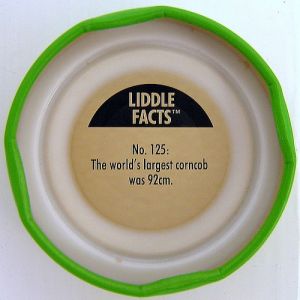
This first one is done by Ellen Goldberg from Kiwi Magazine it recycles old bottle caps by turning them upside down and inserting letters. If I was to make them I would stick to plastic caps because the metal ones can be rather sharp… Although depending on your child’s age they might be too small. I was trying to think of something larger that is less likely to be swallowed and I thought maybe collecting the Spring Valley juice lids, they are metal but larger and without the sharp bits that are on most glass bottles. If you did accumulate enough Spring Valley lids to make an alphabet set you would also get the joy of reading all the cool facts under the lid!

5039718_f967d6ab0e

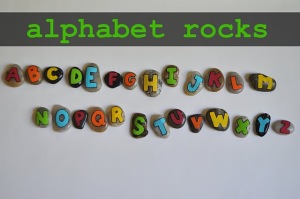
Second we have I am Momma Here Me Roar who has made some really cute magnets using pebbles (again I would watch the size you’re using here) What a cool way of incorporating a bit of nature into  your kitchen. These would be really low cost to make, you would only need the self adhesive magnet strips and a bit of paint + the rocks which would be free. If your a bit of a control freak you might want to use a stencil here 😛

alphabet rocks

Anyway those are our two tutorials for the day, if your interested there are also a heap that use scrabble tiles but I left them out because I thought it was too obvious and easy (we like a challenge here @ thriftypop!). Whilst searching for these great tutorials I came across a cool article ‘12 Letters that Didn’t Make the Alphabet’ worth a read if you’ve got some time 🙂

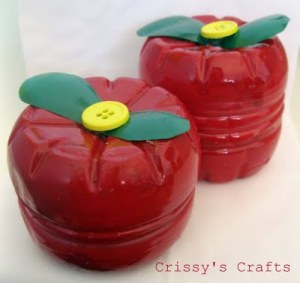
I thought they would make a really cute stocking filler maybe put inside one of these gorgeous recycled plastic bottle apple containers! Cute aren’t they! These could be used as packaging material for so many small gifts you may be giving out this Christmas… why not give them a go?

apple9

Let me know how these go! xxx

Day six: gift ideas we love

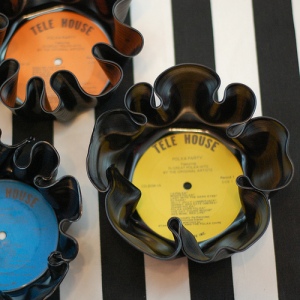
Vintage Record Decor!

6639363529_1fdf26821a

I’ve seen so many tutorials of these on Pintrest and always brushed them off thinking they would be much harder to make than is portrayed. Today though whilst walking through the stalls at Camberwell Market a box full of old records labelled $1 each caught my eye and I thought maybe Its time i seized the moment and tried it out.

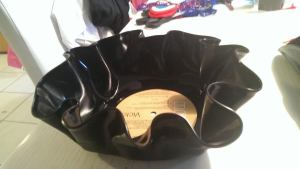
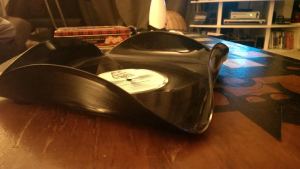
It was actually really easy to do… these are what I ended up with:

unnamed (1)

A nice serving bowl, maybe good for serving nibbles when entertaining. It could even serve as a useful key holding bowl…

unnamed

I like to think of this one as a sandwich tray, maybe it could be used to serve some dips and crackers.

Keep in mind when using these for food you might want to lay a bit of baking paper inside them to provide a bit of protection for the food.

As much as I would like to keep these I think they will make excellent Christmas gifts for entertainers, or a nice token I could bring along to a housewarming. They are not like normal bowls, the fact that I know they used to play some pretty funky tunes (in my case: The Village People, Motown and Disco Classics) gives them a history and adds a bit of character to them.

It was really simple, there are two different approaches I found online:

  1. The first one involves placing the record on top of a heatproof bowl in the oven and allowing it to sort of ‘fall’ in and take the shape of the bowl (I placed a tuna can in the middle of the record to weigh it down a bit and help keep the base nice and even).
  2. The second one is the opposite, it involved placing the heatproof bowl upside down and then putting the record on top so that it moulds around the exterior of the bowl

One of the best parts of this was that if you don’t get it right the first time you can always place the record back in the oven and start again. Doing this will not damage the record or make it harder to mould and you can re-mould your bowls as many times as you feel necessary until you have perfected your masterpiece.

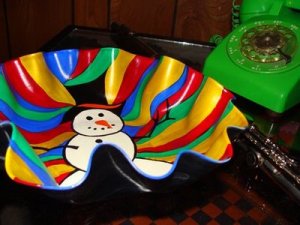
ajandek-otletek-7a2029ed9e79cae6258aa55ee479d240

Maybe my next step should be to paint them.

I will certainly be doing this project again, it was so easy, and the records are dirt cheap at the market so it’s a win for me 🙂
Let me know if you’ve had the chance to try this out and how you went.

Day five: gift ideas we love

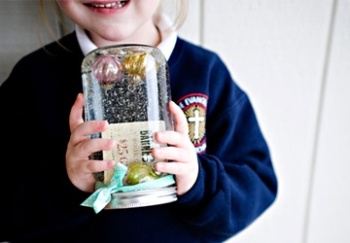
Gifts In a Jar!

Image

We have saved up heaps of jars since starting BNN so when I came across some jar related gift inspiration on Pinterest I thought I’d share a few of my favourites 🙂

Image

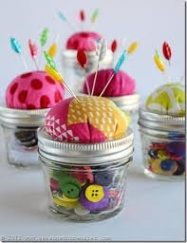
Mason Jar Pin Cushion

These are great for all craft lovers. The pin cushion on top can be any colour you fancy and then you can fill the jar with whatever you like, buttons, thread, decals… it’s completely up to yourself!

Image

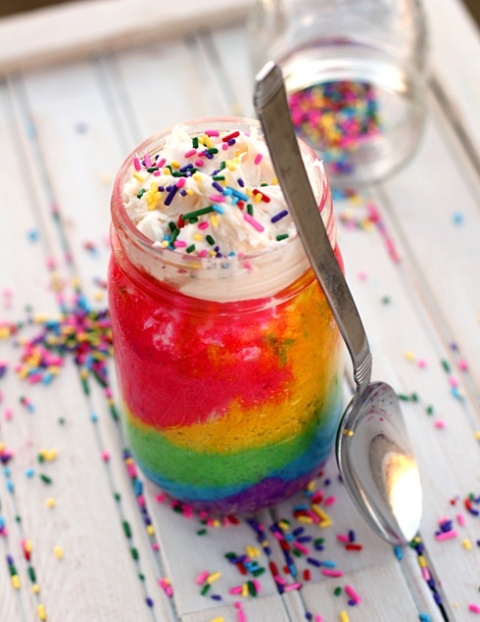
Cake-in-a-Jar

There are so many cool cake-in-a-jar recipes in the above link. The best thing about having cake-in-a jar is it comes with it’s very own to-go container, so if you can’t quite finish it you can always put the lid on and save it for later! Omnomnom 😛

jar_side_large

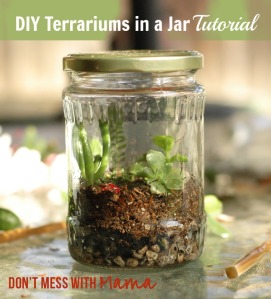
Terranium in a Jar

Well I just love terraniums, I think it’s because it allows me to bring a little bit of (low maintenance) nature inside with me. It’s like having your very own pint sized ecosystem to look at whenever you want. They are also really cool to have on your desk (did someone say work kris-kringle idea?!). I think you’ll find terraniums make good gift as they are so low maintenance, very nice to look at and will suit most home decor themes.

tumblr_l6y89sozbz1qa3fgno1_500_large

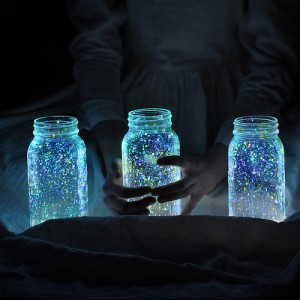
Glow in the Dark Firefly Jars

These look gorgeous and they are super easy to do, you literally just dot glow in the dark paint on the insides of the jars and leave to dry! Some other tutorials sugest using the inside of a glowstick, but it’s up to you which method you prefer. I can imagine them looking nice in the garden lining a pathway, or as a cute nightlight for childrens rooms… what do you think?

Little Pop xx

Natural Floor Cleaning

20130506-164727.jpg

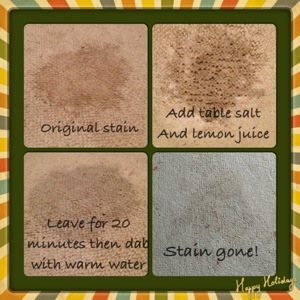
When we we first bought Puppy Pop about twelve months ago and were toilet training him, understandably we had a few mishaps along the way. I have finally decided to deal with the stains left over from then now that he is properly toilet trained and we don’t need to worry so much.
So I thought I would share a neat Eco-friendly way of getting rid of tough baked in floor stains.

Love Little & Big Pop xx